

The command to django create application is simple: python manage.py startapp <app_name>. It instantly generates a new directory with essential files like models.py and views.py. But here's the trap I fell into early on: you can only run this command after you have set up a Django project. And understanding the difference between a project and an application is the first boss battle every new Django developer faces.
Setting The Stage Before You Type a Single Command
Before you even think about creating an app, we need to clear up a hurdle that had me banging my head against the wall for weeks when I first started: the difference between a Django project and a Django application. It is a mental model that, once it clicks, changes everything.
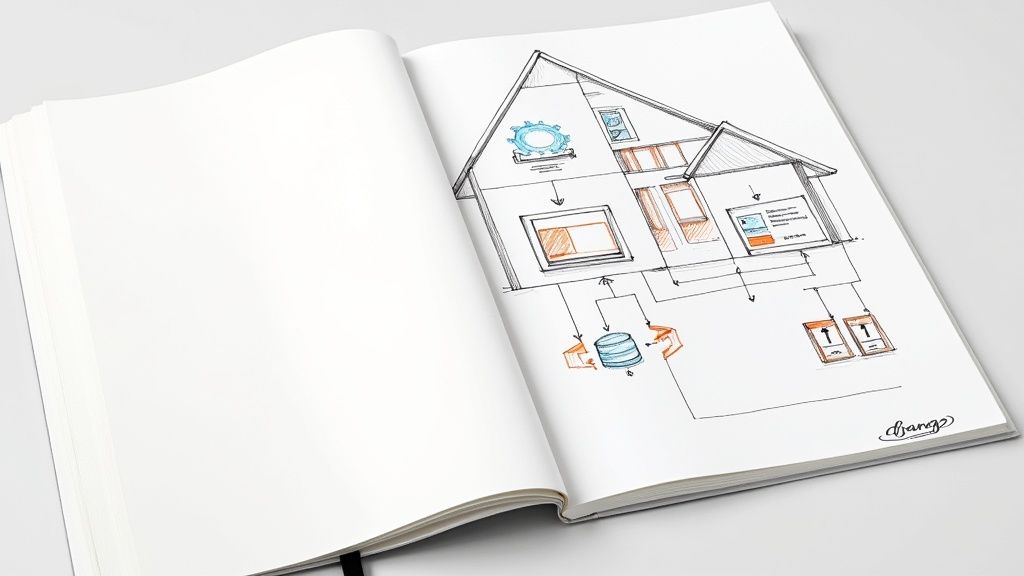
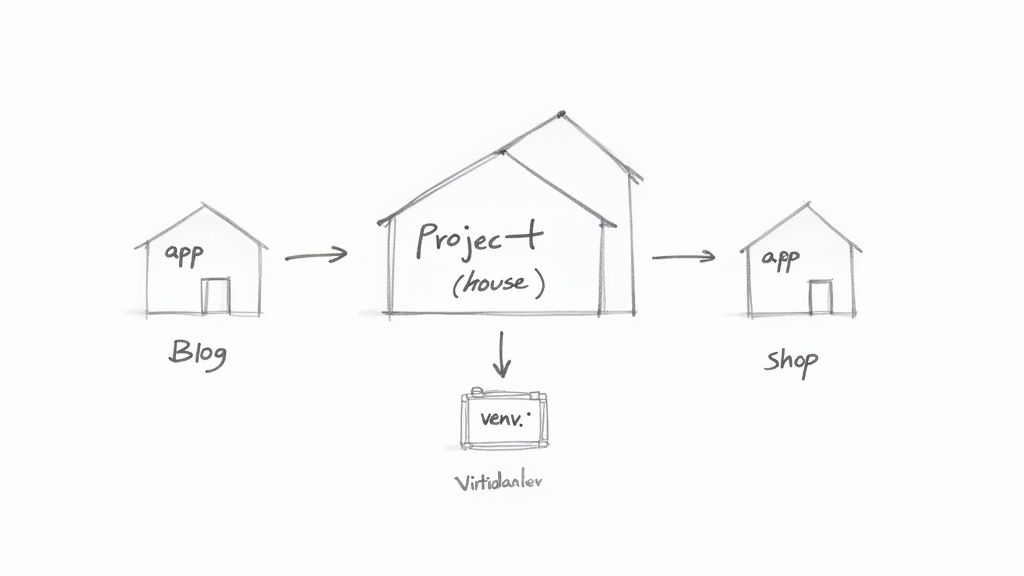
Think of it like this: the project is the entire house. It is the container that manages things the whole building shares, like the main URL routing, security settings, and the overall blueprint. The applications are the individual rooms inside—the kitchen, the bedroom, the office—each with its own specific function. You cannot just build a kitchen floating in mid air; you need the house to put it in.
The Pre Flight Checklist
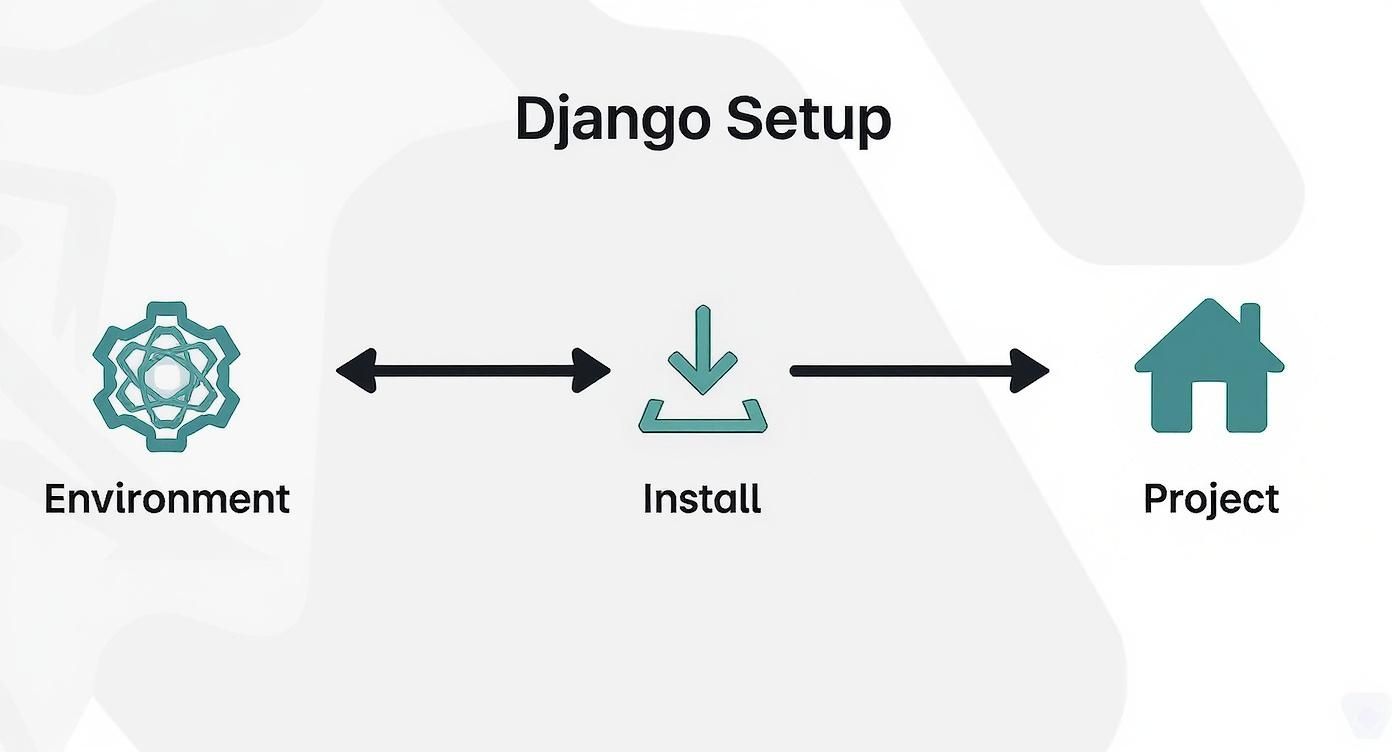
Nailing this distinction from the get go is critical because it prevents massive architectural headaches down the road. This section is your pre flight checklist. We are going to make sure the foundation is solid by setting up a clean virtual environment (to avoid dependency chaos) and installing Django itself.
This is not just a list of commands; it is about understanding the why behind each step. You have got to get the foundation right. Properly starting a Django project without the headaches is the non negotiable first step before you can even think about your app's logic.
A quick way to understand the project vs. app distinction is to see their roles side by side. I have put together this table to make it crystal clear.
Django Project vs Application Key Differences
| Concept | Role | Analogy | Key Command |
|---|---|---|---|
| Project | The main configuration and container for the entire web application. Manages settings, URL routing, and brings all the apps together. | The house or the building. | django-admin startproject <project_name> |
| Application | A self contained module that performs a specific function. Can be reused across different projects. | A room in the house (e.g., kitchen, bathroom). | python manage.py startapp <app_name> |
This table should help you internalize the structure. A project is the whole; an application is a part. You start with the whole, then add the parts.
Django's productivity boost is no secret; its "batteries included" philosophy is a huge part of its appeal. As of recently, over 1.8 million websites are powered by Django, making it the backbone for countless web services. This popularity is built on its power to handle common tasks like authentication and database work right out of the box.
A clean setup is the best gift you can give your future self. I once spent an entire afternoon debugging a package conflict that a simple virtual environment would have completely prevented.
Before diving into Django specific commands, it also helps to zoom out and see the bigger picture. Taking a moment to review the complete process to develop an app can give you strategic context for where this piece of the puzzle fits.
Ultimately, by getting this initial setup right, you will be able to run that first django create application command with full confidence, knowing your house is built on solid ground.
Bringing Your First Application to Life
Alright, the foundation is set. Now it is time for the real fun to begin. We are going to generate our very first Django app, which is where all your features will live.
Pop open your terminal and run this command:
python manage.py startapp <app_name>
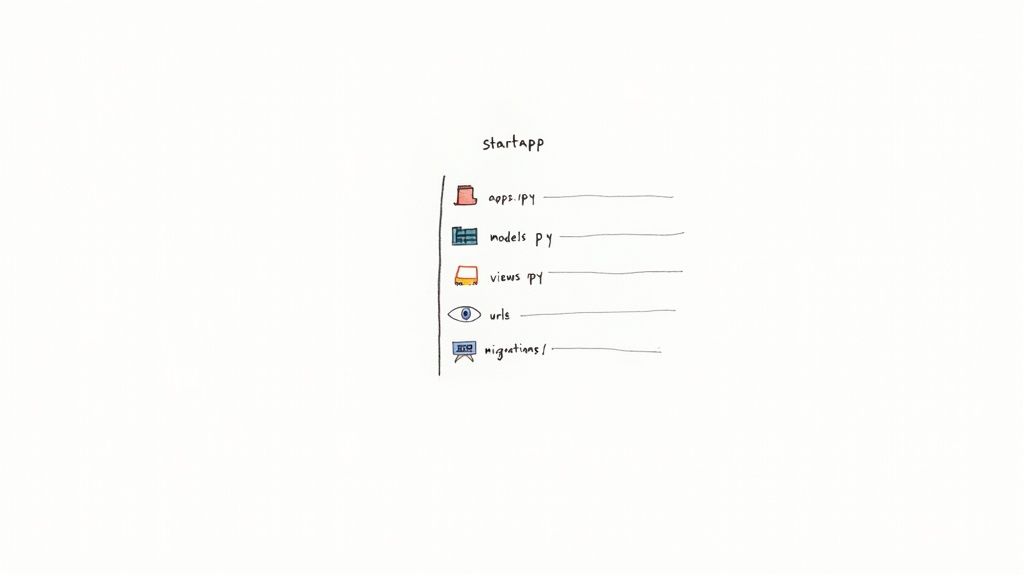
This one little command scaffolds out a brand new directory packed with Python files. I still remember the first time I did this; I just stared at the new folder, feeling a mix of excitement and total bewilderment. What did all these files actually do?
A Guided Tour of Your New App
Let us break down the files Django just handed you. Think of this as the basic anatomy of your application—each file is an organ with a distinct and vital role.
apps.py: This is your app's main configuration file. I once spent an entire afternoon debugging a complex issue only to realize I had a simple typo on a single line in here. Do not ignore it!models.py: The heart of your data structure. This is where you will define your database tables using Python classes.views.py: The brain of your operation. This file contains the logic that handles requests from a browser and sends back a response.admin.py: Your control panel. Here, you can register your models to make them easy to manage through Django's incredible built in admin interface.tests.py: A dedicated space for writing tests to make sure your code actually works. Get into this habit from day one. It will save you countless headaches.
Getting a feel for how each file contributes is key. For a much deeper dive into organizing these components as your project grows, our guide on how to structure a Django project offers some seriously valuable patterns. This structure is not just arbitrary; it is designed to keep your code clean and modular.
The Most Important Line of Code
Now for the most critical step, and one that trips up almost every newcomer. Your application exists as a folder on your computer, but your Django project has absolutely no idea it is there. You need to officially introduce them.
Open your project's settings.py file and scroll down until you find the INSTALLED_APPS list. Add the name of your new app to this list.
It is just a single line of code, but it is the handshake that integrates your app into the main project. Forgetting this is a rite of passage for every new Django developer. Trust me, you will do it at least once.
This modular, app based approach is a huge reason for Django's lasting influence. As of 2025, it holds a market share of roughly 33.22% in the web framework world, backed by a massive ecosystem of over 12,000 packages that plug right into this structure.
By the end of this step, you are looking at more than just a folder of files. You understand the purpose of each component, ready to start building real features. The magic of the startapp command is not what it creates, but what it enables you to build next.Defining Your Data with Models and Migrations
An application is nothing without data. Now that our app has a place to live, it is time to build its skeleton. We do this inside the models.py file, where you will define your entire database structure using nothing but Python code. This is, hands down, one of Django's most powerful features.
Let us skip the generic "Hello, World" examples and model something you would actually build: a simple blog post. This is not just about syntax; it is about learning to think like a database designer, translating real world concepts into code.
Crafting Your First Model
Pop open your app's models.py file. Here, you define a class that inherits from models.Model, and each attribute you add to that class becomes a field in your database table. For our blog post, we need a few key pieces of information.
title: This will be a short piece of text. The perfect field for this isCharField, which forces you to set amax_length.content: For the body of the post, we need something that can handle a lot of text.TextFieldis the right tool for the job since it has no length limit.author: This field needs to link to an actual user. AForeignKeyis how we create these kinds of relationships between different data models.
Here is what that looks like in code:
In your_app/models.py
from django.db import models
from django.contrib.auth.models import User
class Post(models.Model):
title = models.CharField(max_length=200)
content = models.TextField()
author = models.ForeignKey(User, on_delete=models.CASCADE)
created_at = models.DateTimeField(auto_now_add=True)
def __str__(self):
    return self.title
Pay close attention to that on_delete=models.CASCADE part. It is a small detail with big implications. It tells Django that if a user is deleted, all of their posts should be deleted too. This prevents "orphaned" data and keeps your database clean and consistent.
The Conversation with Your Database
So you have defined your models in Python. Great. But how do you get that into an actual database table? That is where Django's migration system shines. I do not think of it as just running commands; it is more like having a conversation with your database.
First, you tell Django what you want to do with makemigrations.
python manage.py makemigrations
This command scans your models.py files, compares them to the schema described in your existing migration files, and generates a new migration. This is not magic—it is just a Python script that spells out the exact steps Django will take. You can even open the file and read the plan yourself.
This two step process is an absolute lifesaver.makemigrationsis your chance to review the plan beforemigrateactually executes it. I once caught a poorly named field at this stage that would have caused a massive headache in production grade code.
Once you are happy with the plan, you give the green light with migrate.
python manage.py migrate
This command takes all the pending migration files and runs them, applying the changes to your database. It brings your database schema perfectly in sync with your models. This robust system is fundamental to building maintainable applications and a key reason developers gather for events like the upcoming Django Day India 2025 to share best practices.
With a solid data structure in place, your django create application journey is officially on solid ground.
Connecting Logic with Views and URLs
So far, we have built a rock solid data model. That is great, but right now, it is like a library with no doors. All the books are there, neatly organized on the shelves, but nobody can actually get in to read them. This is where we build the doors and hallways using Django's views and URLs.
We need to create a pathway that connects a user's request (which comes in as a URL) to a piece of our code that knows what to do. This is the fundamental flow of any web app: a user asks for something, and our server responds. Let us make that happen.
Crafting a Simple View
The first piece of this puzzle is the view. A view is just a Python function that takes a web request and returns a web response. It is the core logic, the brains of the operation.
Jump into your app's views.py file. We will write a simple function to grab all the blog posts we have created.
In your_app/views.py
from django.shortcuts import render
from .models import Post
def post_list(request):
posts = Post.objects.all()
return render(request, 'your_app/post_list.html', {'posts': posts})
This post_list function does two things: it queries the database for every single Post object, then uses a handy Django shortcut called render to put together a response. We have not created the HTML file (post_list.html) yet, but we have told Django where it will be and what data (our posts) to pass along to it.
Defining the URL Pathways
Okay, we have the logic. But how does a user actually trigger it? That is what URLs are for.
For a long time, I used to just dump all my URLs into the main project's urls.py file. On one massive project, this became an unmanageable mess that took hours to untangle. I learned a hard lesson from that: always keep your application URLs separate.
Inside your application's directory, create a new file named urls.py. This file will be dedicated solely to this app's pathways.
In your_app/urls.py
from django.urls import path
from . import views
urlpatterns = [
path('', views.post_list, name='post_list'),
]
This tiny block of code maps the root URL of our app (represented by the empty string '') to the post_list view we just created. That name argument is a crucial best practice. It gives the URL a unique name, letting us refer to it from other parts of our code without having to hardcode the path.
Finally, we have to tell the main project that this new urls.py file even exists. Think of it like plugging your app's extension cord into the main power strip.
In your project'surls.pyfile, we will use Django'sincludefunction. This single function is the key to creating modular, reusable, and maintainable applications. It delegates URL routing to the app, keeping concerns neatly separated.
Add this line to your project's urlpatterns list:
In your_project/urls.py
from django.urls import path, include
urlpatterns = [
path('admin/', admin.site.urls),
path('blog/', include('your_app.urls')), # This is the line to add
]
And just like that, any request to /blog/ will be handed off to our app's urls.py file for processing. We have built a clear, logical path for a web request to travel—from the user's browser, through the project, and right to the specific view function that knows how to handle it. This clean separation makes the entire django create application process much more scalable down the road.
Crafting the User Experience with Templates
Okay, our app has a skeleton and a brain. It can think, it can process data, but right now, it has no face. It is time to fix that by building the actual user interface with Django's powerful templating engine. This is where we finally connect our Python logic to what a user sees in their web browser.
First things first, our templates need a home. Inside your application directory (your_app/), create a new folder called templates. Then, inside that folder, create another one with your app's name.
So you will have your_app/templates/your_app/.
This double barreled namespacing can feel a little redundant when you are starting out, but trust me, it is a lifesaver. Once your projects get bigger and you have multiple apps, this simple convention prevents different apps from using the same template name by mistake. It is a lesson you would rather learn now than in a panic later.
Building Your First Template
Let us get our hands dirty. Inside that nested your_app directory, create a new file: post_list.html. This is mostly a standard HTML file, but we are about to give it some Django superpowers. We will use special template tags and filters to bring our data to life dynamically.
Instead of just typing out static text, we can loop through all the posts our view sends over. We will use a {% for %} loop for that. Inside the loop, we can access each post's attributes, like {{ post.title }} and {{ post.content }}.
Our Blog
Latest Posts
- {% for post in posts %}
- {% endfor %}
{{ post.title|title }}
{{ post.content }}By {{ post.author.username }}
See that |title part? That is a template filter. It is a tiny, built in Django tool that automatically formats our string into title case. Django is packed with these little helpers for formatting dates, text, numbers, and a whole lot more.
Passing Data from View to Template
Now for the magic. How does our post_list.html file get the posts to loop through? That comes from the post_list view we built earlier.
Remember that dictionary we passed into the render() function? The {'posts': posts} part? Django calls this the context. This context dictionary is precisely how your Python backend talks to your HTML front end.
This clean separation of concerns is a core philosophy in Django. Your view handles the logic (figuring out what data to get), and your template handles the presentation (how to display that data). This is not just about keeping things tidy; it is a practice that makes your django create application process scalable and way easier to debug as your projects grow.This framework's ability to cleanly manage the backend and frontend is a huge reason for its staying power. The global web development market is projected to grow from $74.69 billion in 2025 to over $104 billion by 2030, a surge driven by the demand for robust, maintainable applications. As Python's popularity continues to explode, Django is perfectly positioned to capture a big piece of that market. You can discover more insights about Django's role in the web market right here.
With this final piece—the template—in place, you now have a fully functional and dynamic page. It is no longer just code; it is a real webpage that users can see and interact with.
Common Questions on Creating Django Apps
As you start moving from following tutorials to building your own Django projects, a few questions almost always pop up. It is a rite of passage, really. I have run into these myself and have helped plenty of other developers navigate the same waters.
Let us tackle some of the most common ones. Getting stuck is normal, but knowing the answers here can turn a frustrating roadblock into a minor speed bump.
What if I Mess Up My Models and Migrations?
This is the big one. The question that causes the most anxiety. You have created a model, run a few migrations, and then realize you named a field completely wrong or forgot something crucial. First off, do not panic.
If the changes have not been pushed to a shared repository, you have options. The simplest (and most destructive) fix is to just delete the migration files in your app's migrations/ folder and drop the database. This is a total reset, so it is only suitable for the very early stages of local development when you have no important data.
A less drastic approach is to squash migrations, which combines multiple migration files into one clean one. This is a much better habit to get into.
Can a Django Project Have Multiple Apps?
Absolutely, and you absolutely should. A classic beginner mistake is trying to cram everything into a single, massive app. This quickly becomes an unmanageable monolith that is a nightmare to work on.
The entire philosophy behind the startapp command is to encourage modularity. Think of it like this: your e commerce project is not just one "app." It is a products app, an orders app, a users app, and maybe a reviews app.
Each one manages its own models, views, and URLs. This makes your codebase cleaner, easier to test, and way simpler to debug when things go wrong.
A well structured Django project is a collection of small, focused applications working together. This is not just a best practice; it is the key to building something that can grow without collapsing under its own weight.
Where Should I Deploy My New App?
Once your application is starting to look good locally, the next logical question is where it is going to live on the internet. This decision can be surprisingly complex, with options ranging from simple platforms to powerful servers.
Understanding your project's needs is the first step. For a small hobby project, a simple platform might be fine. But for anything more serious, you will need to think about scalability and control.
When you are ready to deploy, understanding the differences between Shared Hosting vs VPS is a critical first step. While shared hosting can work for tiny projects, a Virtual Private Server (VPS) gives you the control and scalability that a real world Django application needs to thrive.
Are you an early stage startup looking to build a robust, scalable Django application? At Kuldeep Pisda, I help engineering teams accelerate their roadmaps, implement secure architectures, and deliver high quality systems. Let's build something amazing together. Learn more and get in touch.
Subscribe to our newsletter.
Become a subscriber receive the latest updates in your inbox.
Member discussion